
1 – INSTALL OPERATING SYSTEM
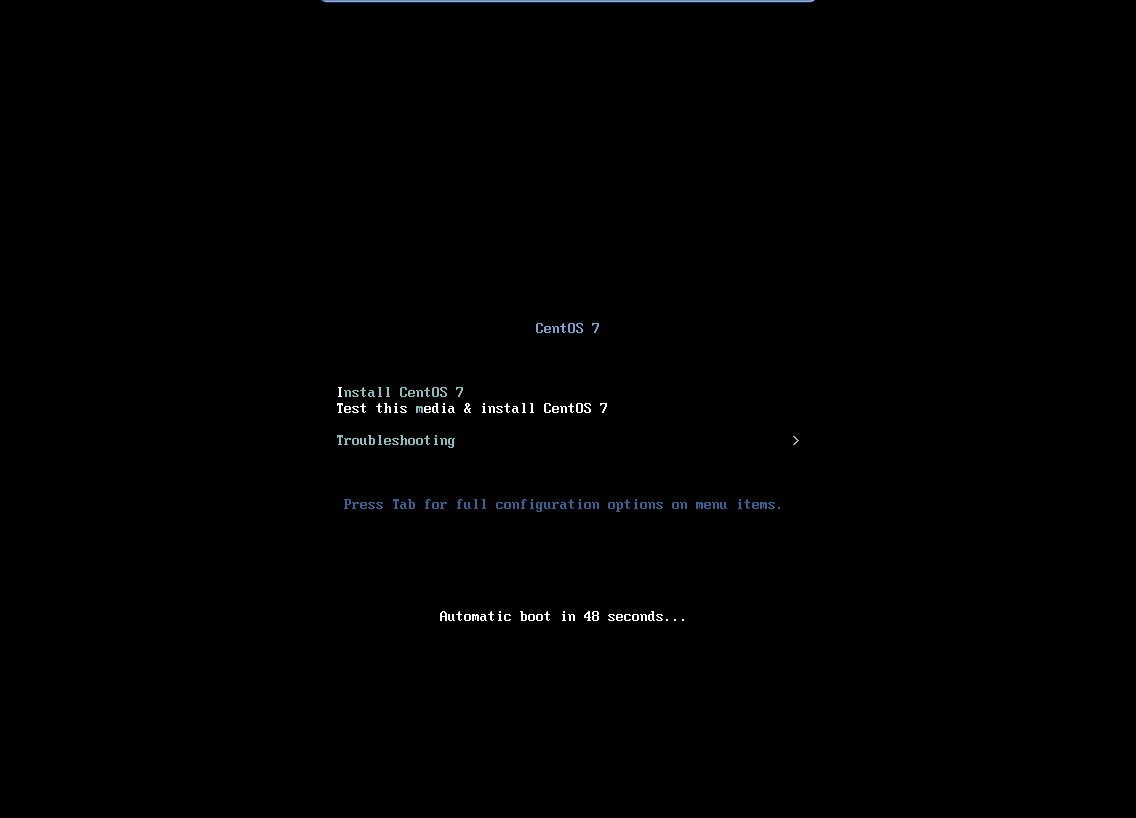
Select Install CentOS 7 and press Enter
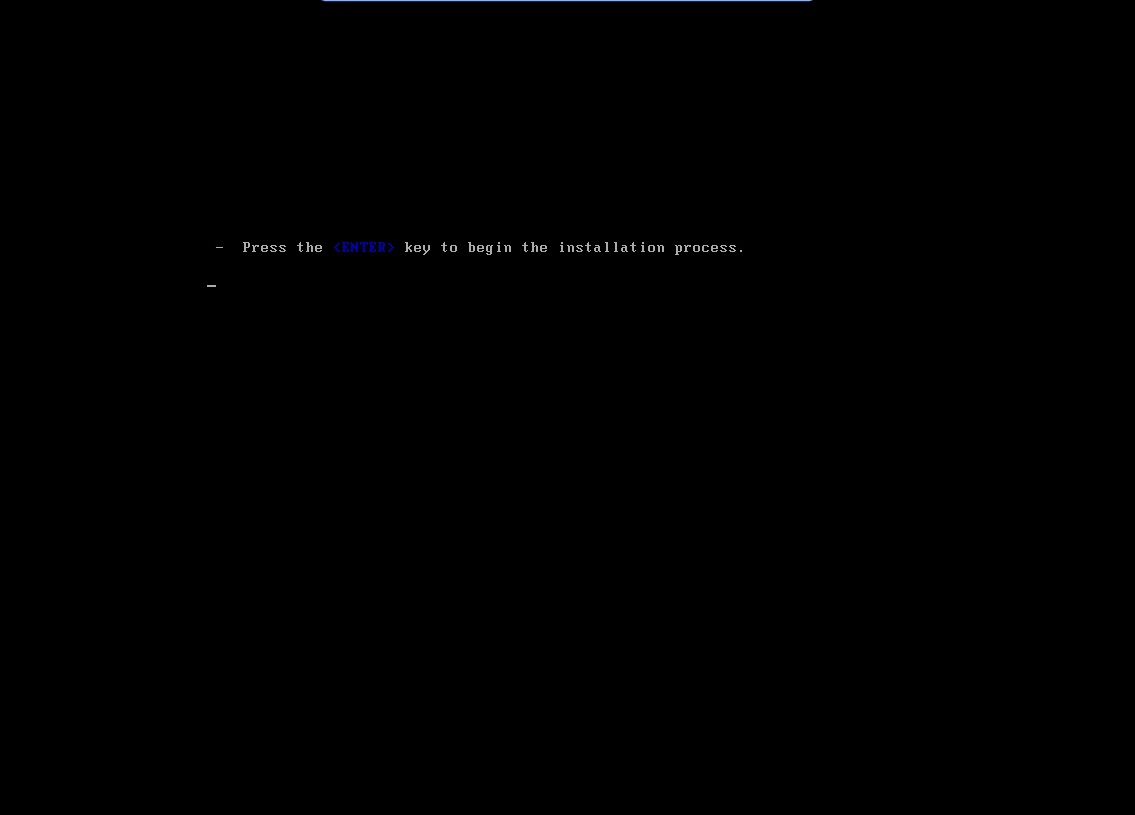
Press Enter to begin the installation
Select your Language and click Continue

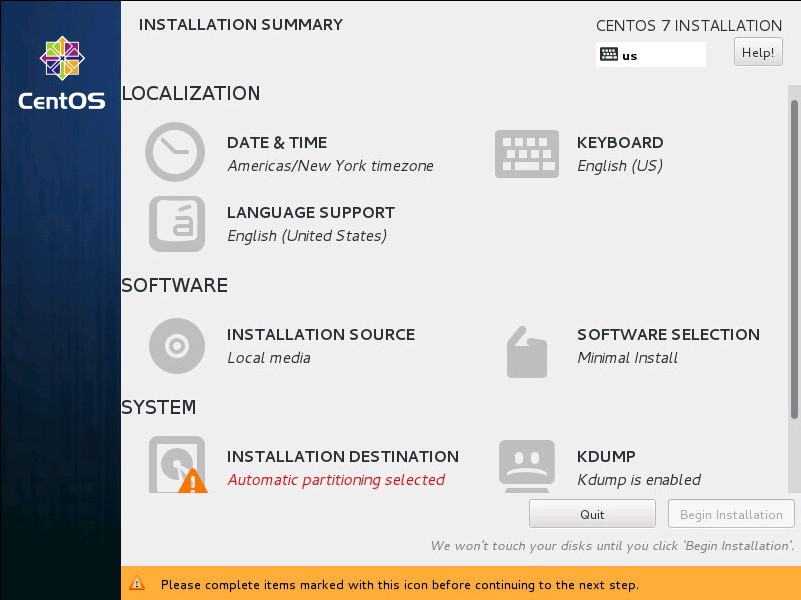
Complete any items marked with the Exclamation icon. Only the Installation Destination should be marked and will be automatic partitioning by default. Click Installation Destination
By default automatic partitioning is selected. Review the automatic partitioning and confirm it suits your needs and click Done. Otherwise, you’ll need to manually complete the partitioning (beyond this tutorial).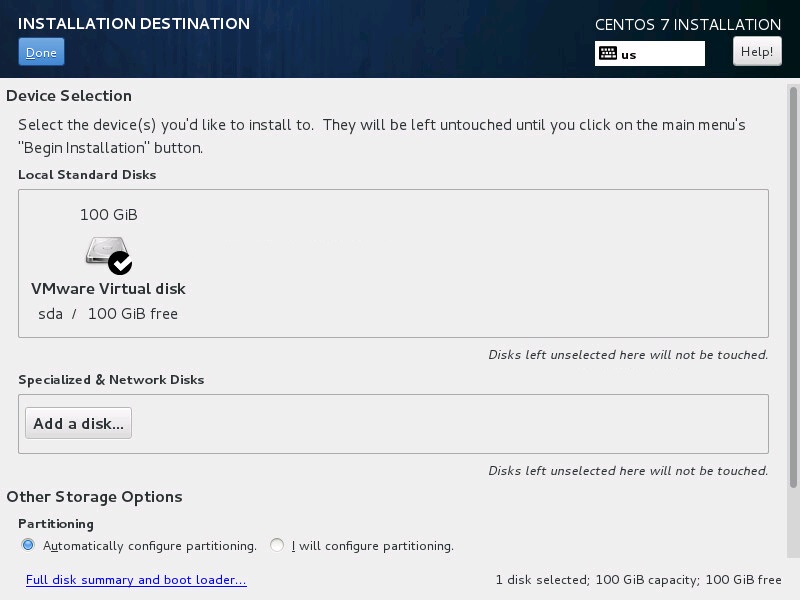
Once all the items marked with the exclamation icon are complete, click Begin Installation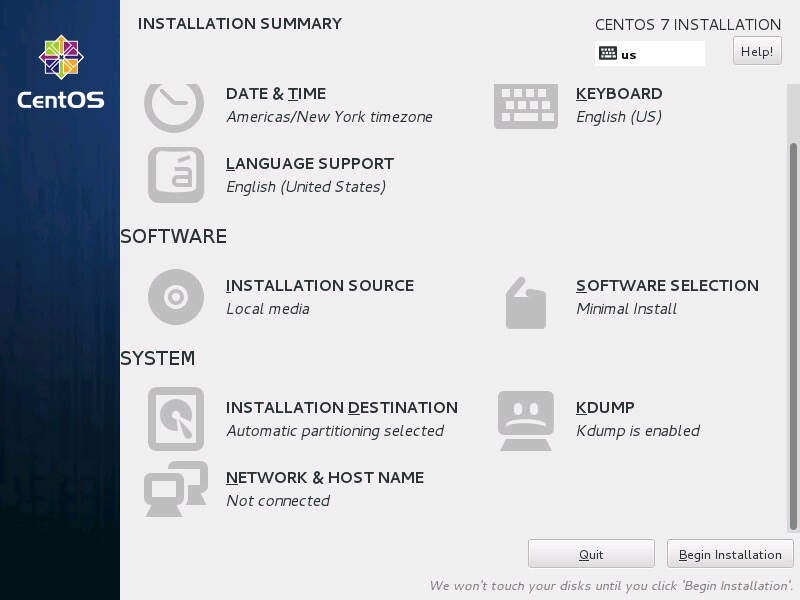
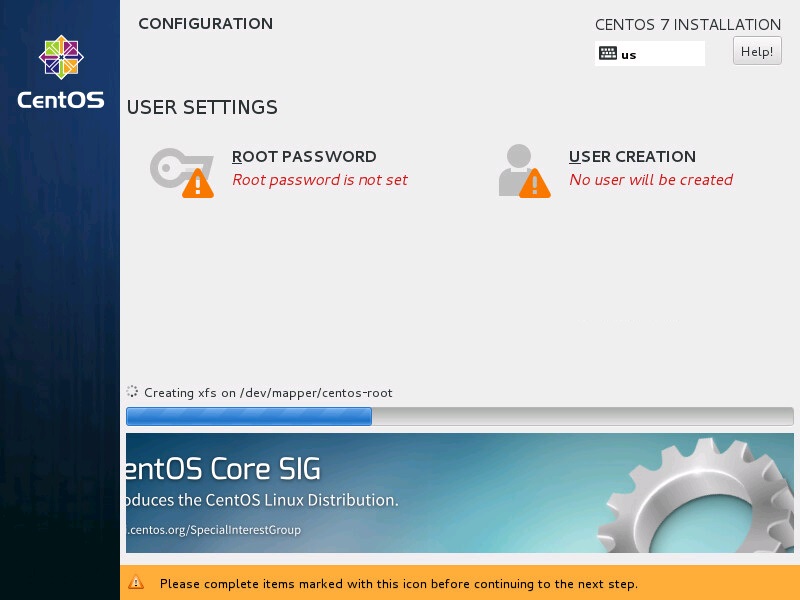
CentOS 7 will now begin to install. Click Root Password to set the password while you wait for the installation to finish.
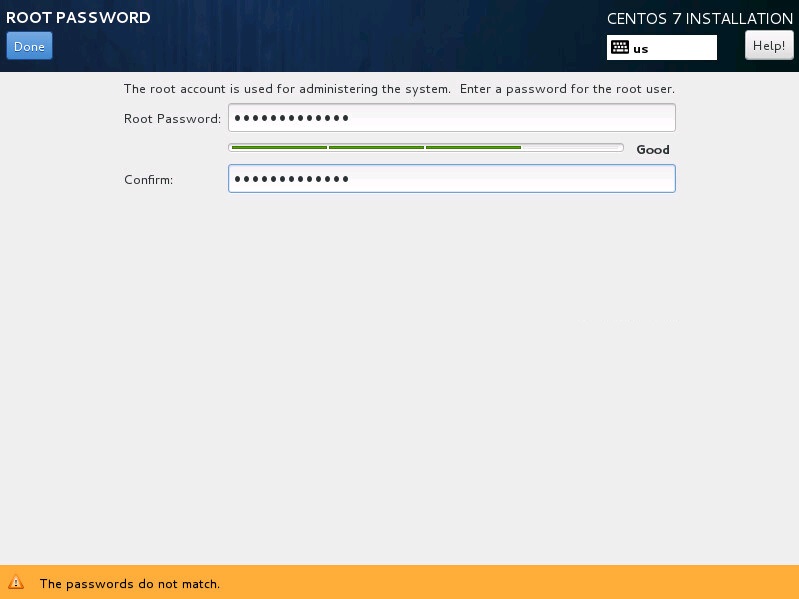
Enter your Root password twice and click Done. CentOS will rate the strength of your password and obviously the stronger the better.
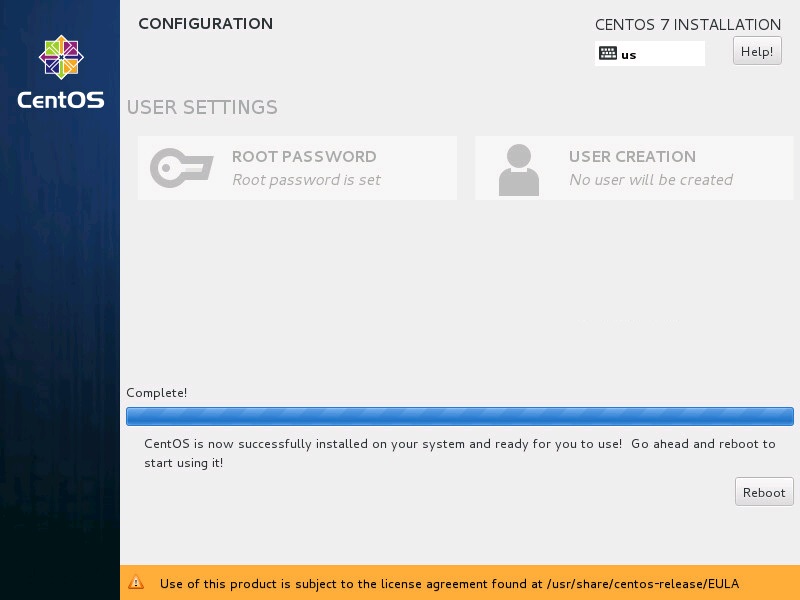
Once the installation completes, click Reboot.
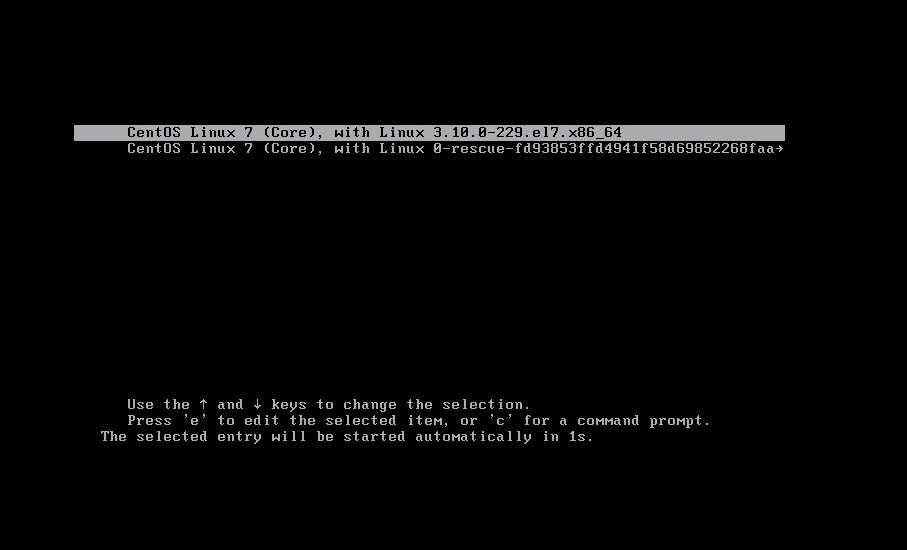
The boot menu will automatically boot CentOS 7
2 – LOGIN AS ROOT
Once the OS boots, login using username root and the password you set during the installation.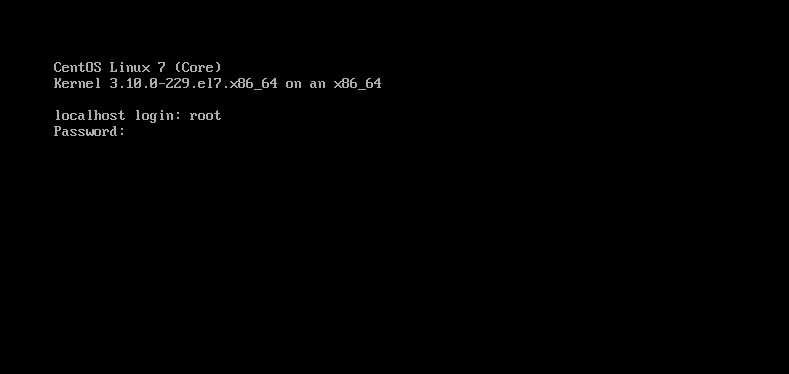
3 – CONFIGURE NETWORK ADAPTER
How to Configure Network Settings in CentOS 7
4 – INSTALL VMWARE TOOLS (Optional)
If this installation of CentOS 7 is a VMWare Guest OS, you may wish to install the VMWare Tools by running the following command:
yum -y install open-vm-tools
5 – INSTALL NANO (Optional)
If you are not a fan of the vi text editor, you may wish to install Nano which has a more natural text editor feel to it by running:
yum -y install nano
6 – INSTALL UPDATES
Install updates by running:
yum -y update
7 – CREATE A SUDOER USER
It’s best practice to not use the root (super-user) user account. Instead, you should always use a regular user account and allow them root privileges by adding them to the sudoers file. You can then run privileged commands by use the sudo or su commands. Let’s first start by creating a user by running the following command (where sigkill is the username):
adduser sigkill
Next, we want to set the password for our user by running the following command and enter the password twice when prompted:
passwd sigkill
Here is an example of the output you’ll receive
![]()
Now that your user is created, you want to add them to the sudoers file. You can edit the sudoers file with vi by running the following command. (NOTE: If you’re not familiar with vi, take a look at vi cheat sheet)
vi /etc/sudoers
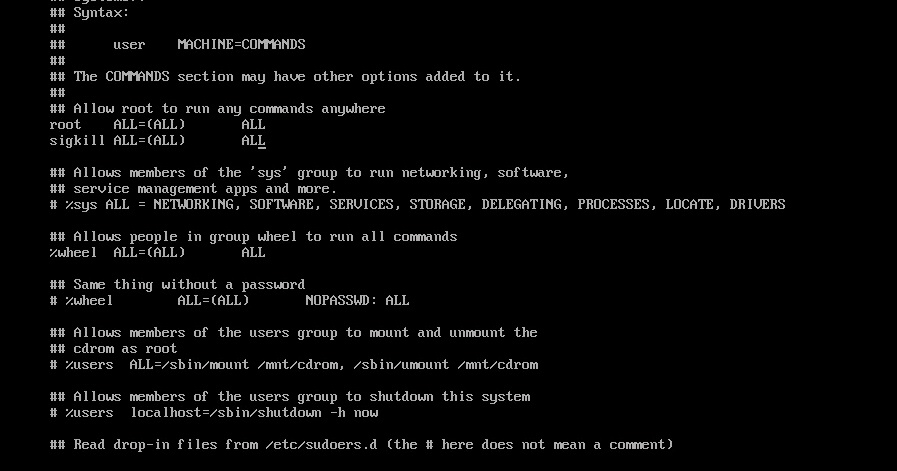
Near the end of the sudoers file, locate the following lines
## Allow root to run any commands anywhere
root	ALL=(ALL)	ALL
Add the following line directly below the above lines then save and quit (:wq)
sigkill ALL=(ALL) ALL
Here is an example of how it should look
8 – PREVENT REMOTE SSH ACCESS FOR ROOT
By default, SSH is installed and ready to work once you configure a network adapter. Another best practice is to prevent remote SSH access to the root account.
vi /etc/ssh/sshd_config
Locate the following line
#PermitRootLogin yes
Modify the above line to the following then save and quit the file
PermitRootLogin no
Restart the SSH Service by running the following command
systemctl restart sshd